
Lift System Parts
Coleman Rebuild Kit – Upper Crank Assembly
SKU: PA-CNRUREBUILD
$131.25
Part details
Waist-Level Crank Assembly Rebuild Kit for Coleman Campers
This rebuild kit is designed to repair the upper (waist-level) crank assembly used on Coleman and Fleetwood pop-up campers. The waist-level crank transfers motion from the handle to the main drive shaft and whiffletree, allowing smooth and controlled raising of the roof. Over years of use, these parts can wear, causing slipping, grinding, or total loss of lift function.
This kit provides the key service parts most often needed to restore the crank assembly. It is intended for situations where the main housing and large transfer gear are still intact but internal wear items require replacement.
Is This The Right Kit For You?
This kit fits Coleman/Fleetwood campers with a waist-level crank handle.
If your crank handle inserts at the bumper, please see the Lower Crank Assembly Kit instead.
IMPORTANT: Information Needed With Your Order
Some waist-level crank assemblies route the shaft through a rear-mounted spare tire.
To ensure you receive the correct parts, please note at checkout whether your camper’s crank handle passes through the spare tire.
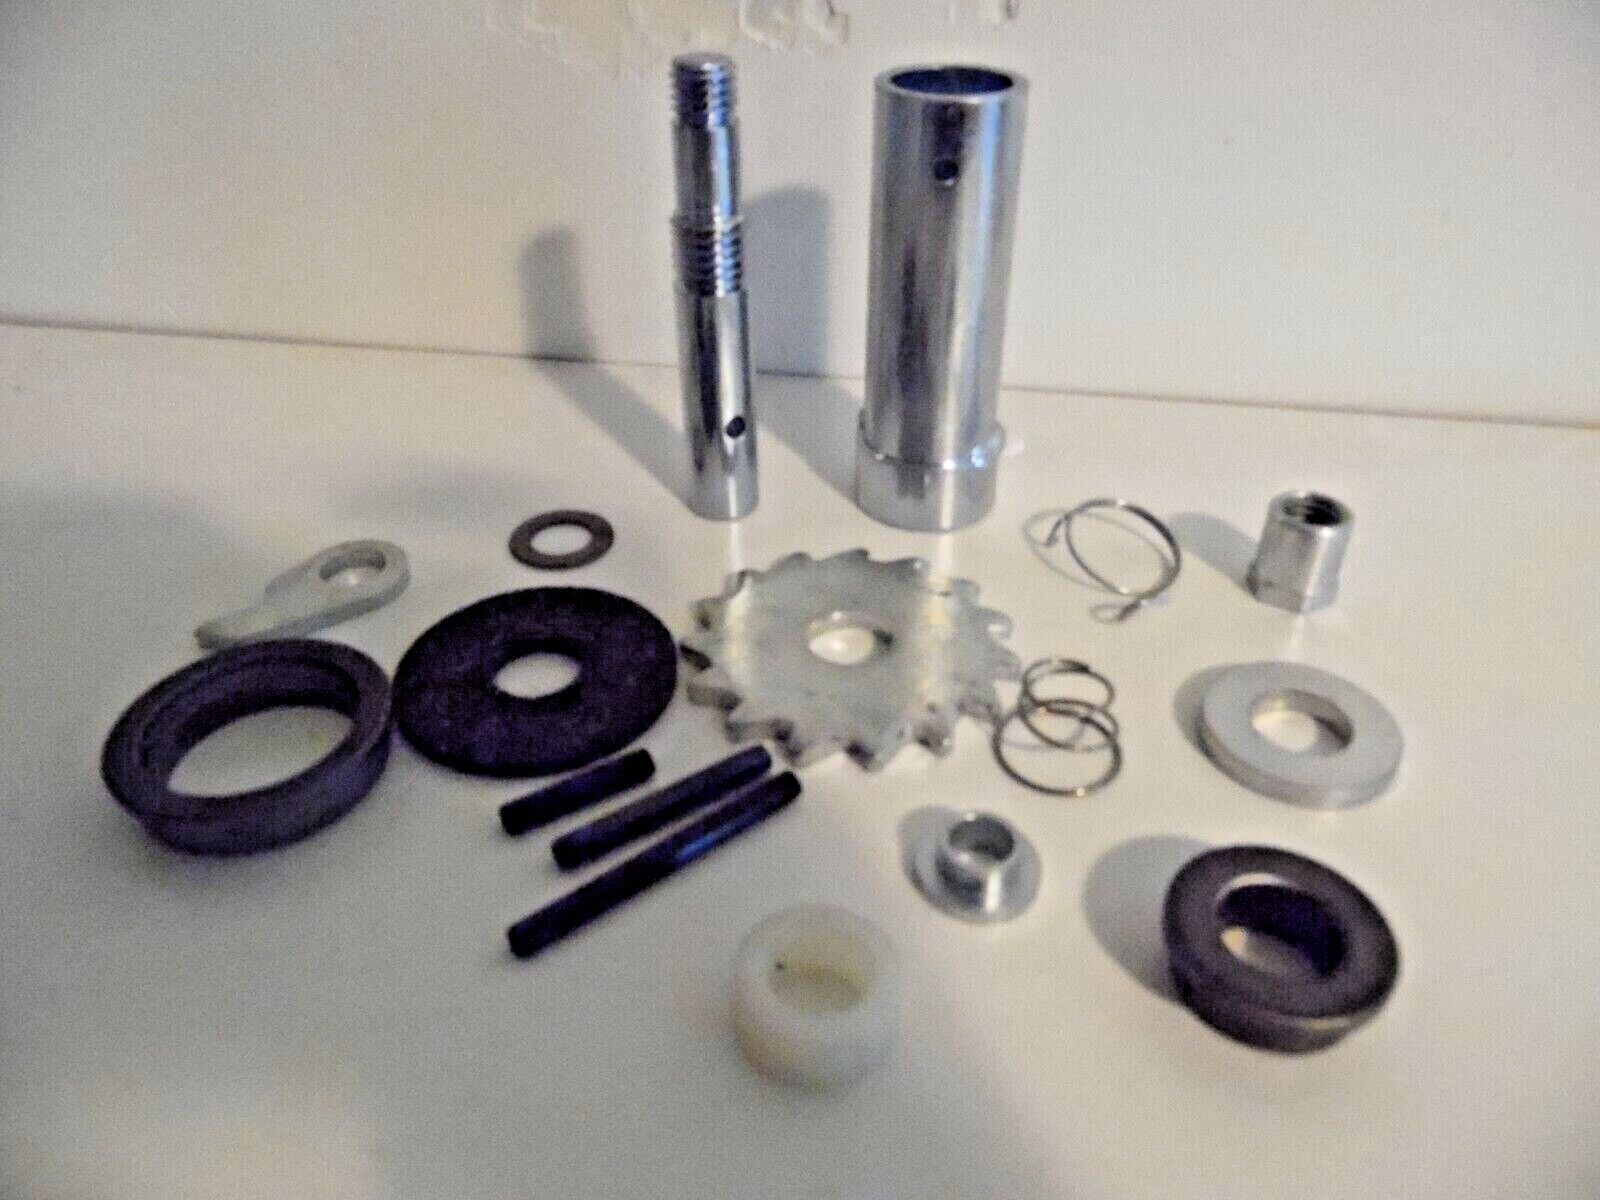
Kit Contents (Numbered to Match Diagram):
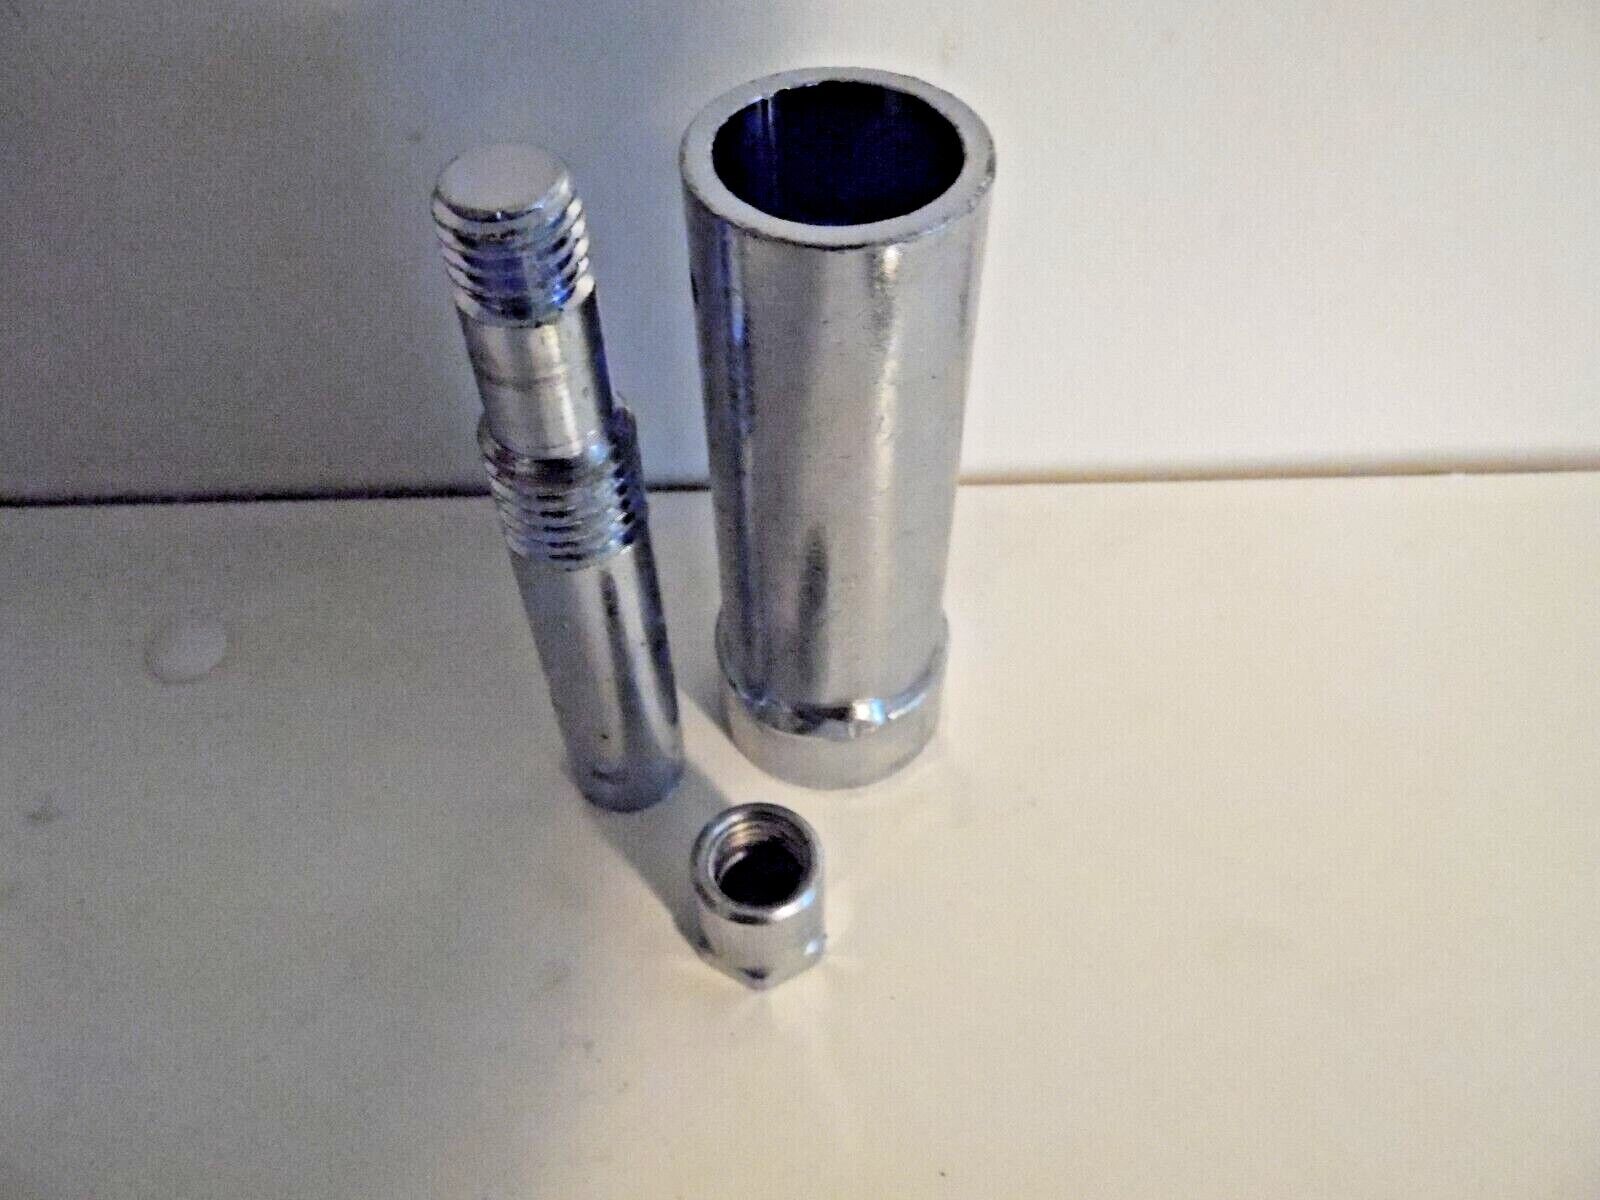
- 1. Drive Shaft (3 5/8")
- 2. Drive Hub (3 3/8")
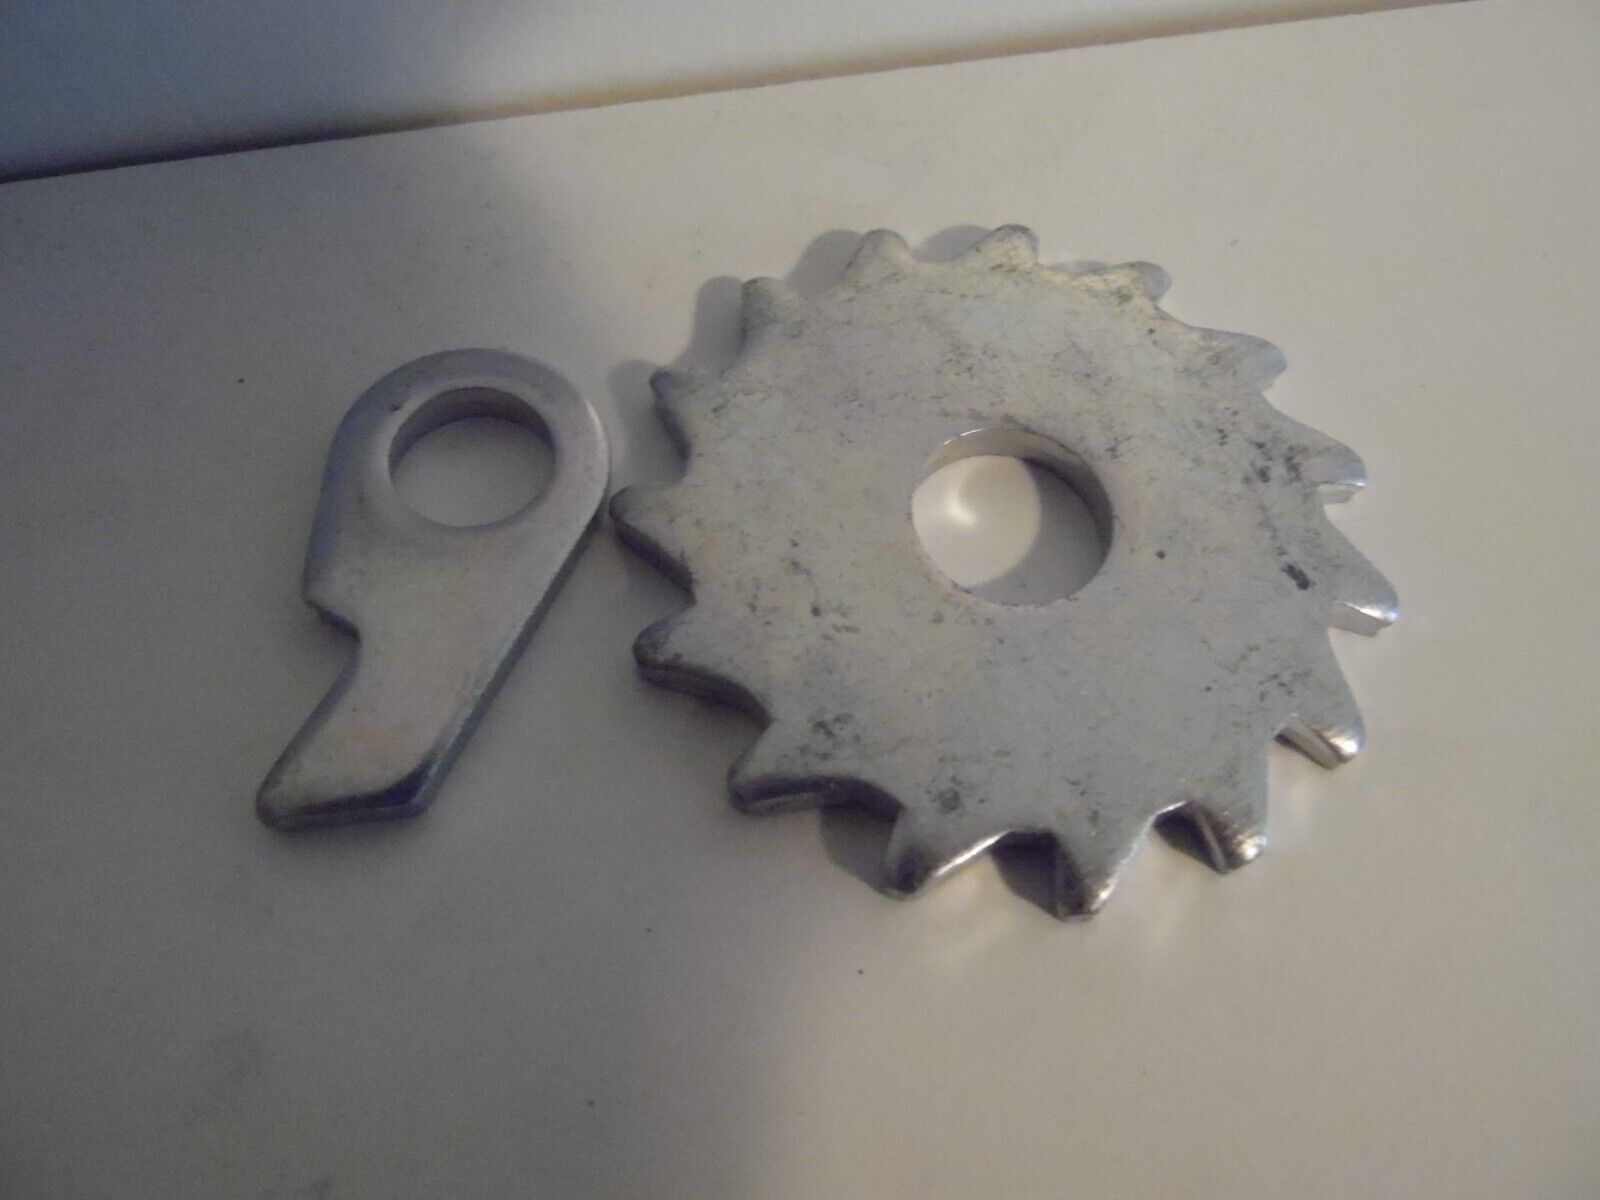
- 3. Ratchet Wheel
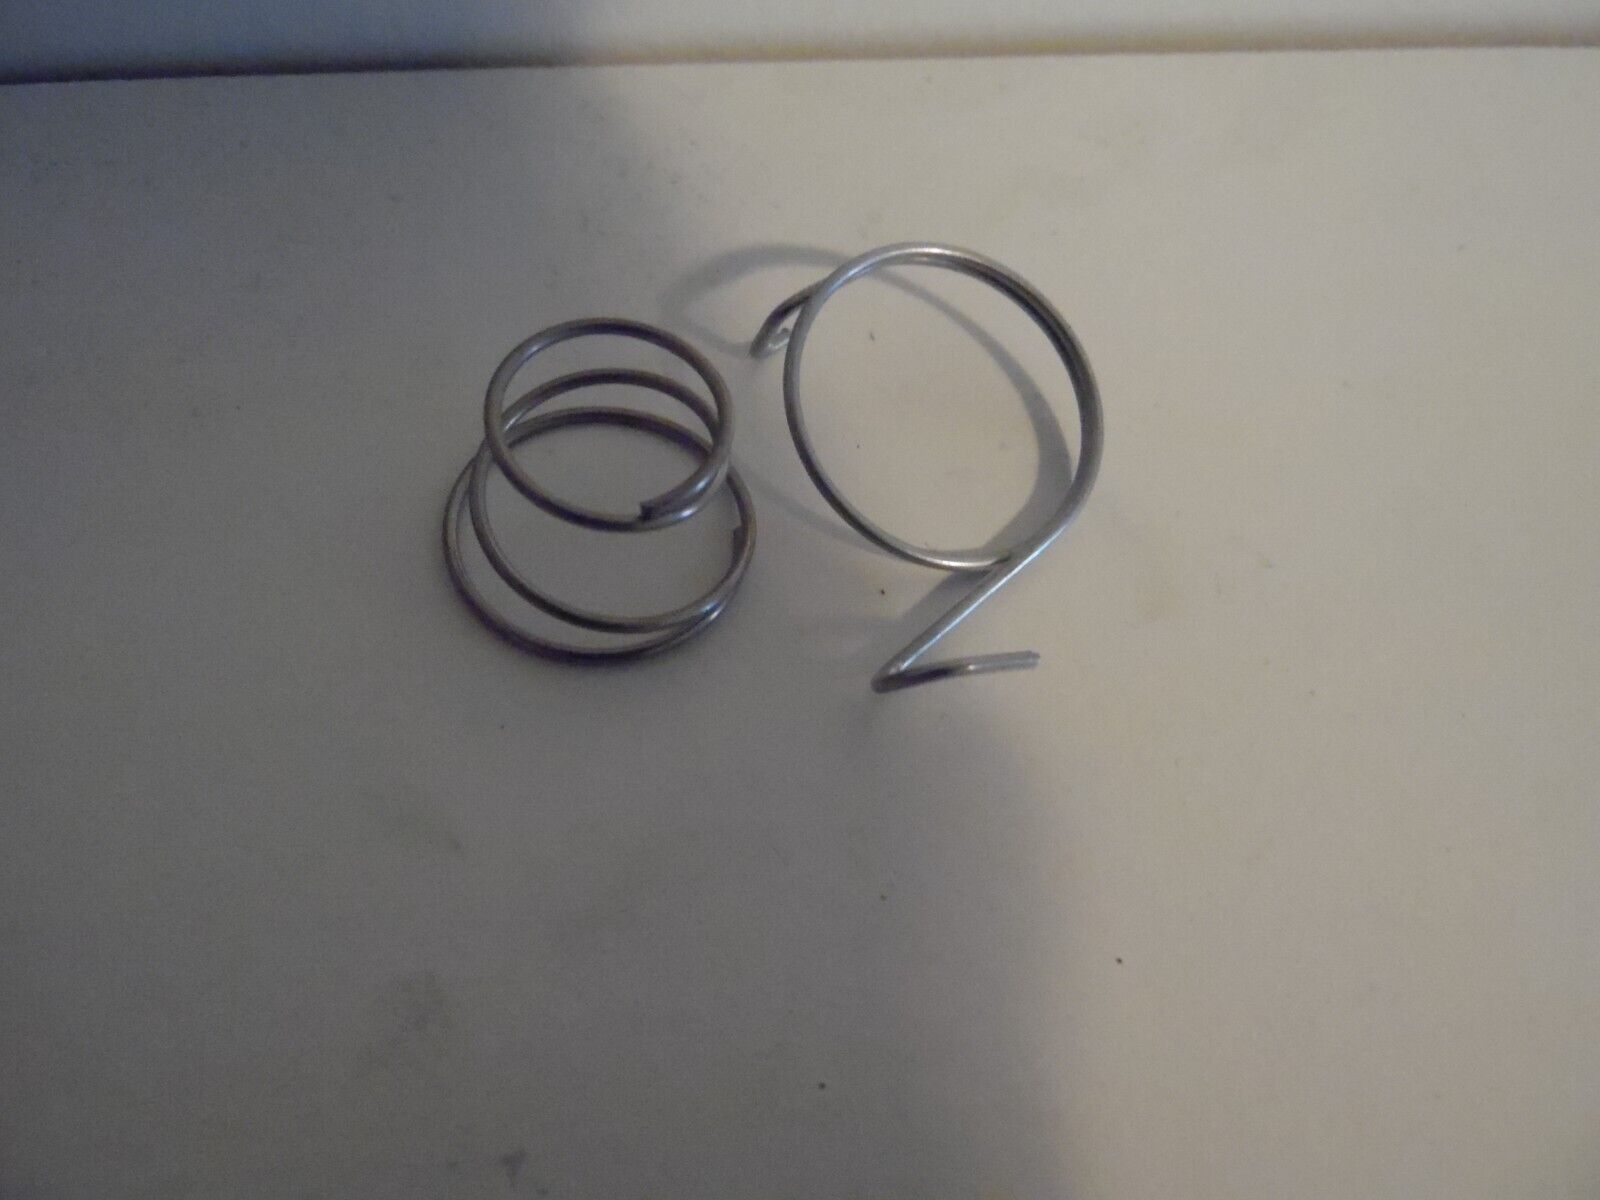
- 4. Ratchet Pawl with Spring (mounting bolt not included)
- 5. Pressure Plate
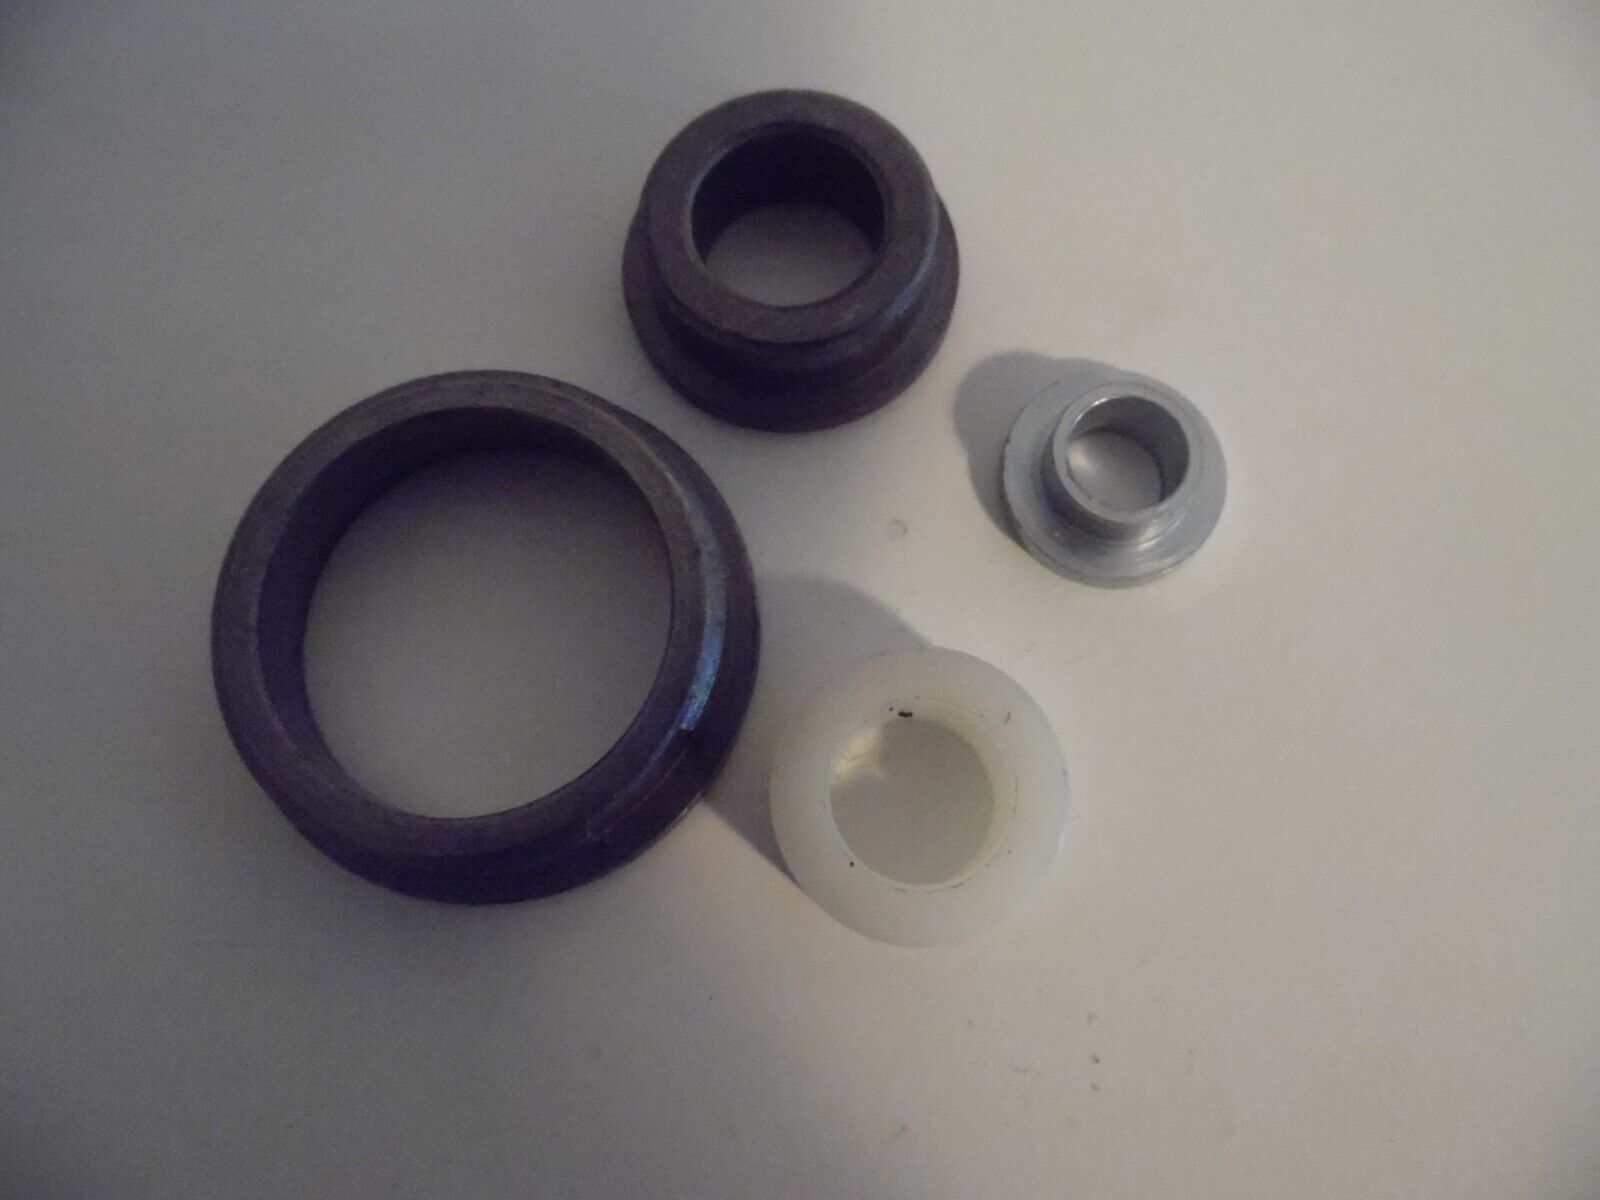
- 6. 2x Shaft Bushings (positions #1 & #7 in assembly diagram)
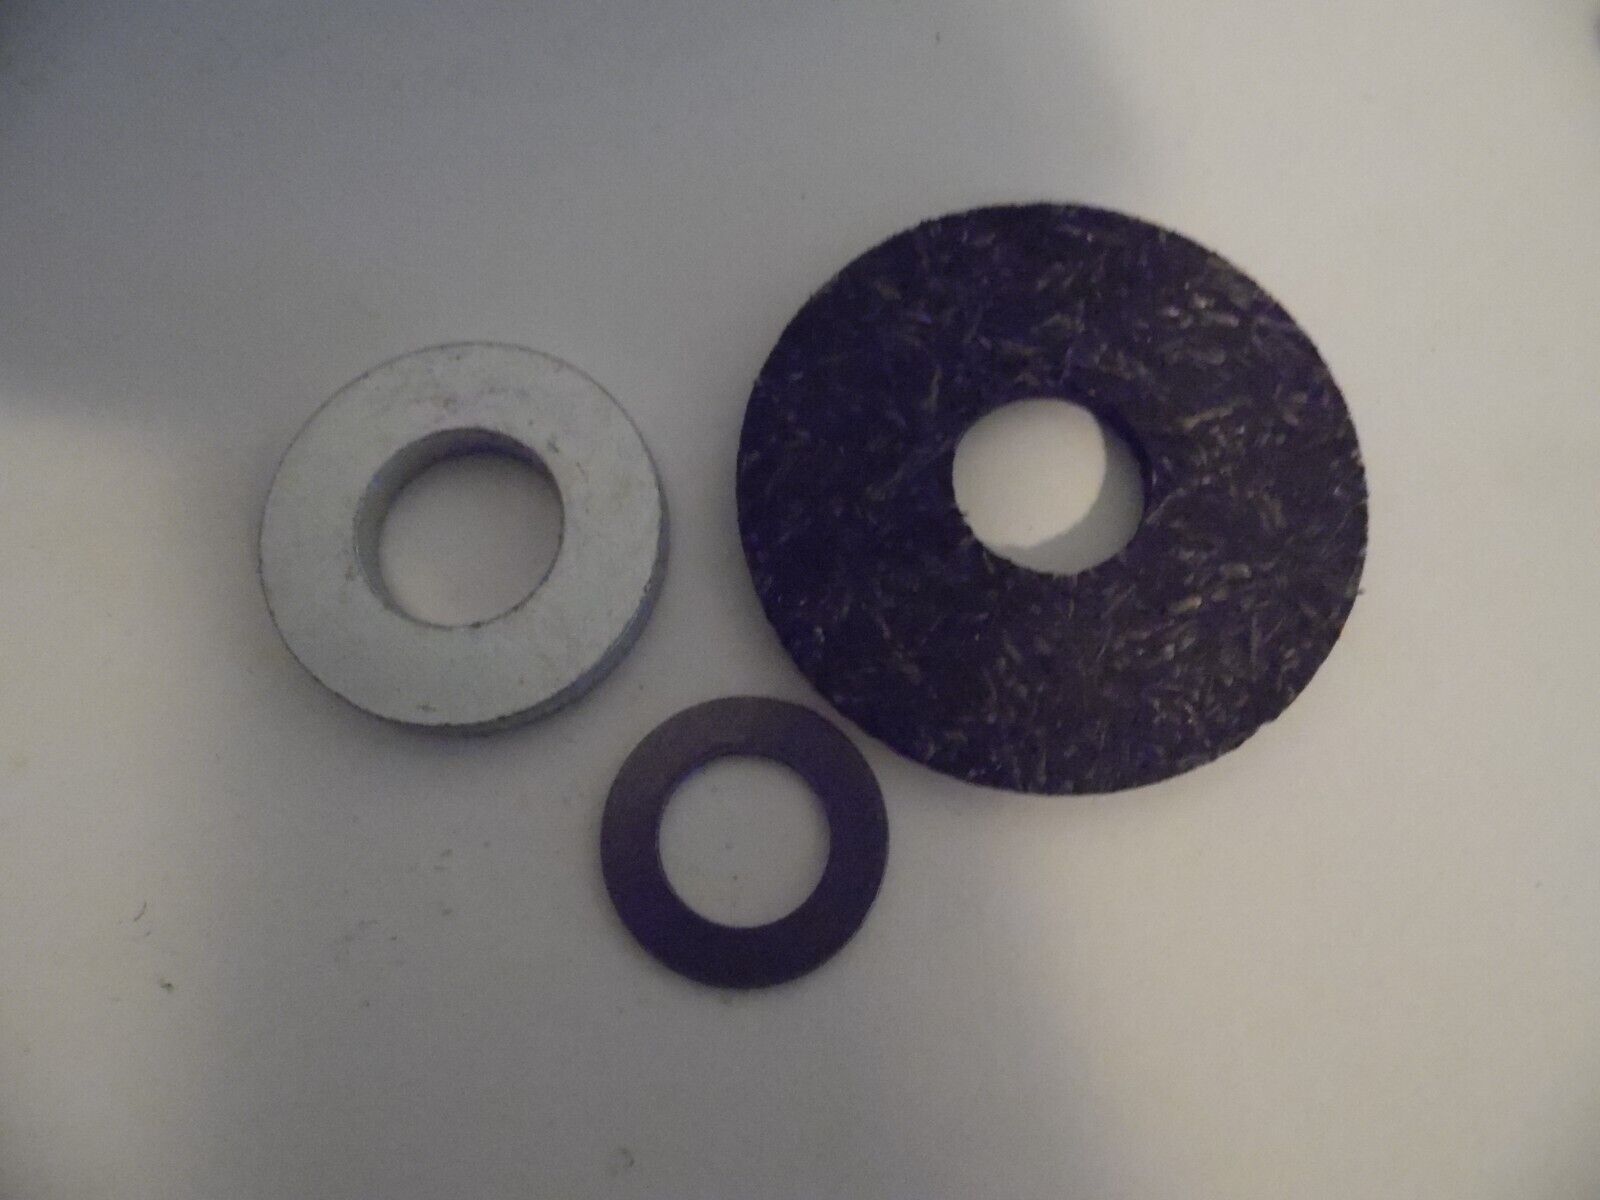
- 7. 2x Pressure Washers
- 8. Nylon Washer & Steel Washer
- 9. Hex Head Nut (Coarse Thread)
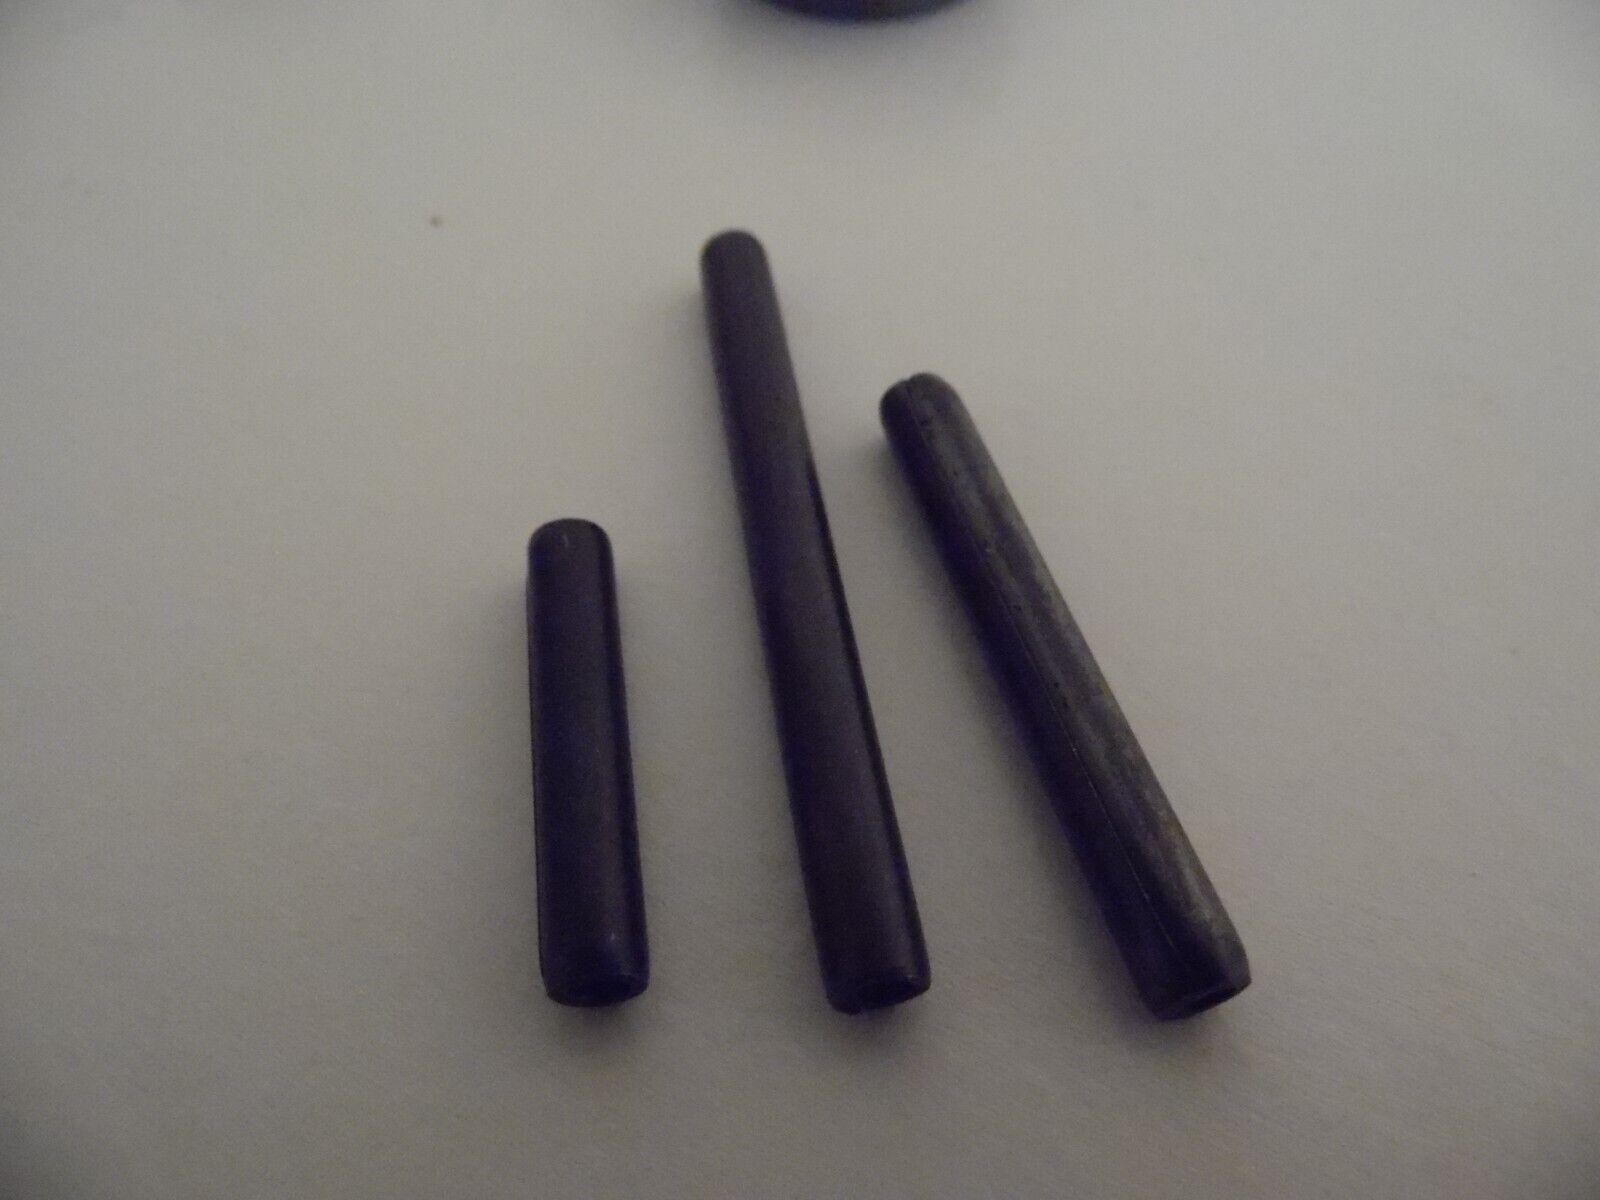
- 10. 4x Roll Pins
Please Note: What’s NOT Included
- The complete crank housing (not available new)
- The 24-tooth main transfer gear
- The mounting bolt for the ratchet pawl
- Parts #15–19 from the original factory assembly diagram
Related repair guide: Coleman & Fleetwood Lift System Guide
Video courtesy of The Carolina Camper Show:
Installation: Crank & Sprocket Assembly Rebuild
Safety: Support the roof with solid props before servicing.
- Identify your crank style first — Butterfly Key, 3000 Series, 6311 Direct Drive, Chain-Drive Upper Crank, or LH Drive (identification photos and specifications are in the guide).
- Follow the Crank and Sprocket Assemblies section of the guide for your style, then set the chain tension (1"–1½" gap between chain halves).
- Tip for a roof that will not stay up: with the roof fully up, add ½–1 extra turn to re-engage a compression-style clutch — if it will not hold, rebuild the crank.
Full guide with diagrams, maintenance tips, and troubleshooting: Coleman/Fleetwood Lift System Guide.
Listed fitments (1)
Check your model, lift system and cable position against these listings and the part details.