
Lift System Parts
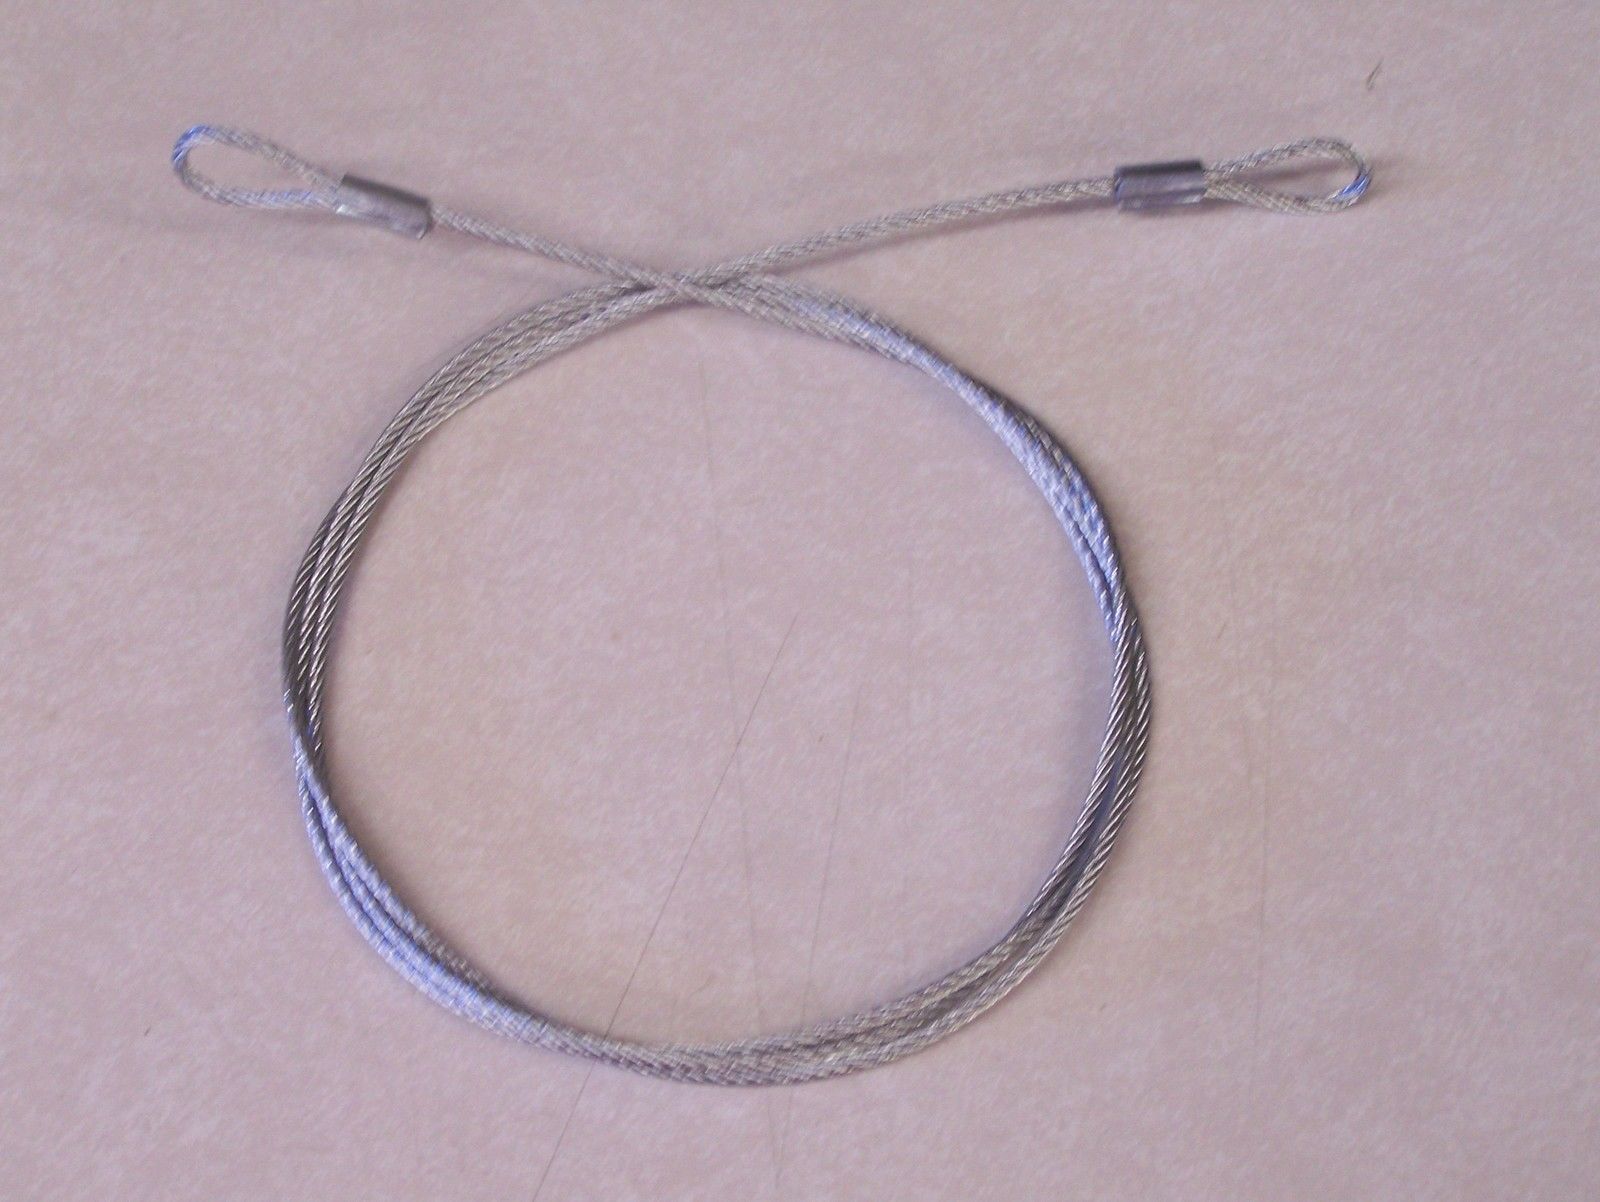
Starcraft Lifter Cable Inner 53-5/8″ 3/32 Ss
SKU: PA-STAR3305-5001
$11.55
Part details
Inner-Arm Lifter Cable for Starcraft Lift Systems (53 5/8" / Part No. 3305-5001)
This is a 53 5/8-inch replacement Inner-Arm Lifter Cable for Starcraft pop-up campers. The Starcraft repair manual describes the "Inside Lifter Cable" as being confined to the interior of the lifter channels, where it works with pulleys to extend the telescoping sections. This is a direct replacement for a broken, frayed, or stretched original inner cable.
Important Shipping Information
Please allow up to 1 week for this cable to ship.
Product Specifications & Compatibility:
- Part Number: 3305-5001
- Location: Inner-Arm Lifter Cable
- Overall Length: 53 5/8 Inches
- Cable Diameter: 3/32 Inch
- Verification: As our provided charts do not list this part number, it is critical to verify that this part number and length match your original cable before ordering.
Installation: Replacing a Lifter Cable (1983–2000 System)
Safety: Prop the roof securely — never rely on the remaining cables to hold it.
- Era check: this procedure is for the 1983–2000 system — a winch with FOUR cables and turnbuckles. If your Starcraft has a tongue-mounted winch with ONE cable to a 4-way yoke, use the 1982-and-older guide instead.
- Raise the roof to within an inch or two of correct height and prop the broken corner (hold it up by hand while cranking to avoid over-stressing the other cables).
- Slide out the bunk end and remove the side canvas far enough to expose the lifter.
- Raise the first stage of the lifter until the anchor bolt is clear of the sidewall (StarLite models: break the seal at the top of the lifter pocket; some models have cover plates; you may need to remove 4–5 bed-track screws for pulley clearance).
- Remove the bolt holding the pulley at the top of the first stage (3-stage lifters: the looped cable end can thread through the pulley assembly instead). Tip: tape over the back of the wrench so the nut cannot drop into the lifter pocket.
- Remove the anchor bolt holding the looped end of the cable to the first stage, then pull the old cable out through the bottom of the lifter pocket.
- Thread the looped end of the new cable through the frame pulleys and up into the lifter pocket. Do not twist the new cable.
- Wrap the cable around the pulley and insert the pulley into its bracket at the top of the first stage.
- Torque the pulley nut/bolt and the cable anchor bolt to 6 ft/lbs; connect the lifter cable to the turnbuckle.
- Adjust the roof height following the Winch section of the guide.
Full guide with diagrams, maintenance tips, and troubleshooting: Starcraft 1985–2000 Guide.
Repair Guides: Step-by-step procedures, cable charts, and troubleshooting are in our Starcraft guides: 1982 & Older (tongue winch with 4-way yoke) or 1985–2000 & most '83–'84 (winch with four cables).
Listed fitments (1)
Check your model, lift system and cable position against these listings and the part details.