
Lift System Parts
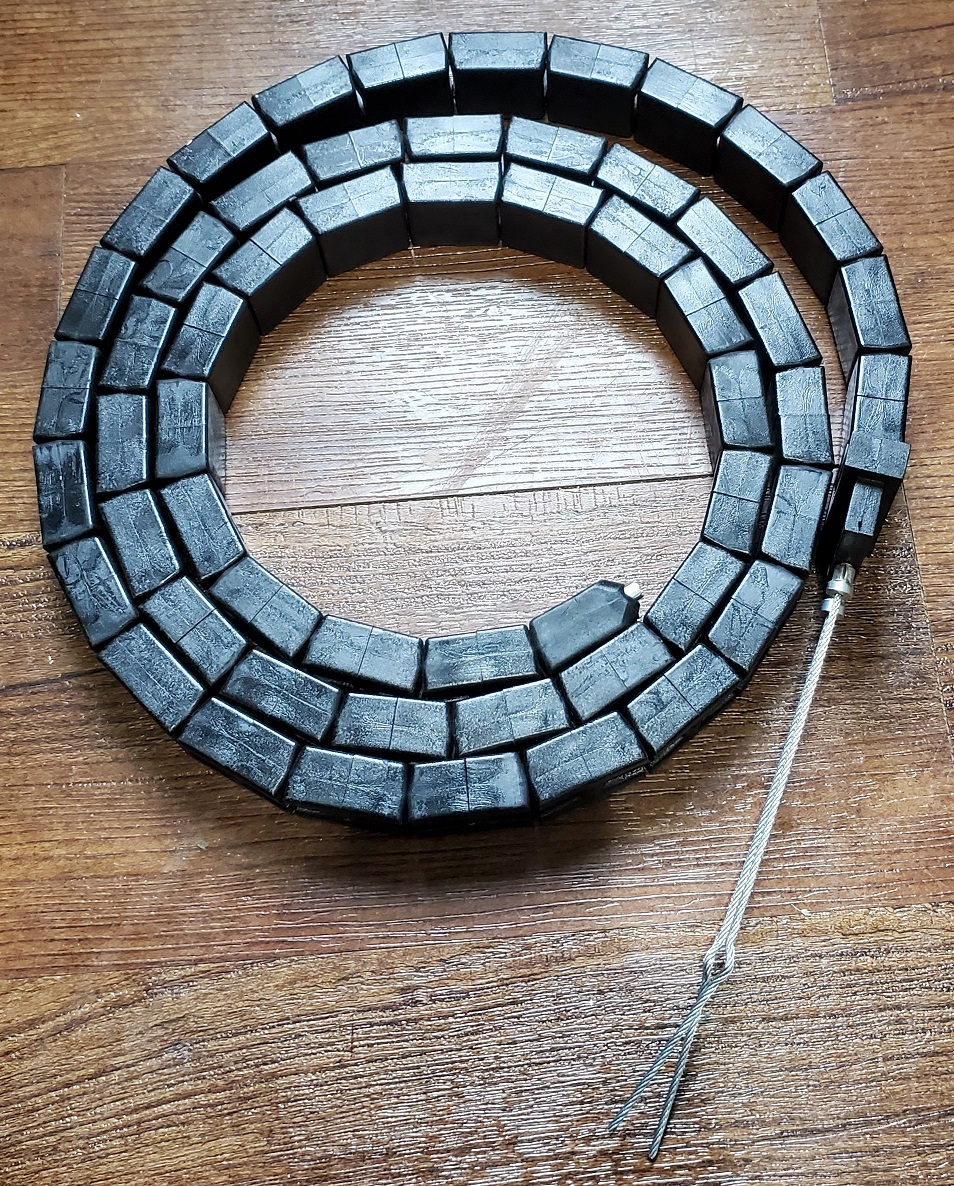
Apache Lifter Chain (Heavy black plastic blocks)
SKU: PA-APACLIFTERCHAIN
$153.30
Part details
Apache Heavy-Duty Lifter Chain
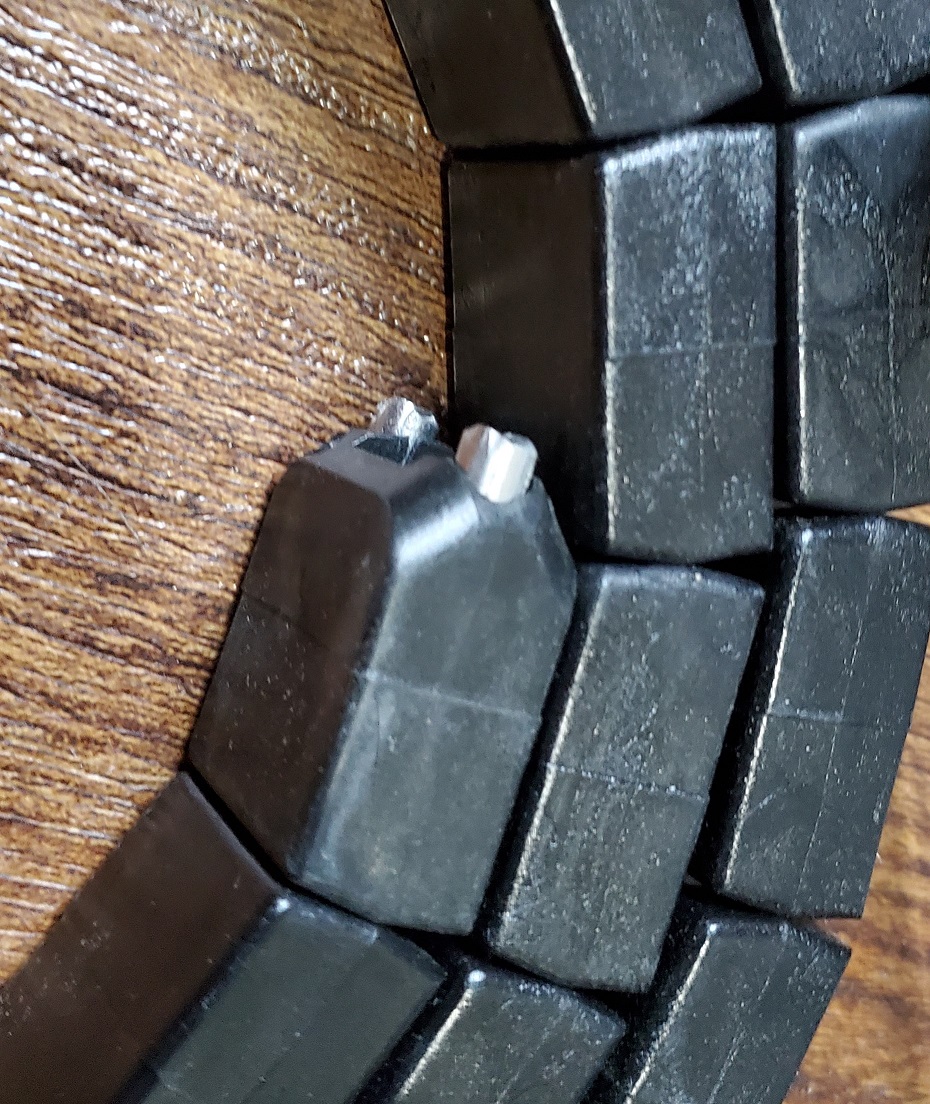
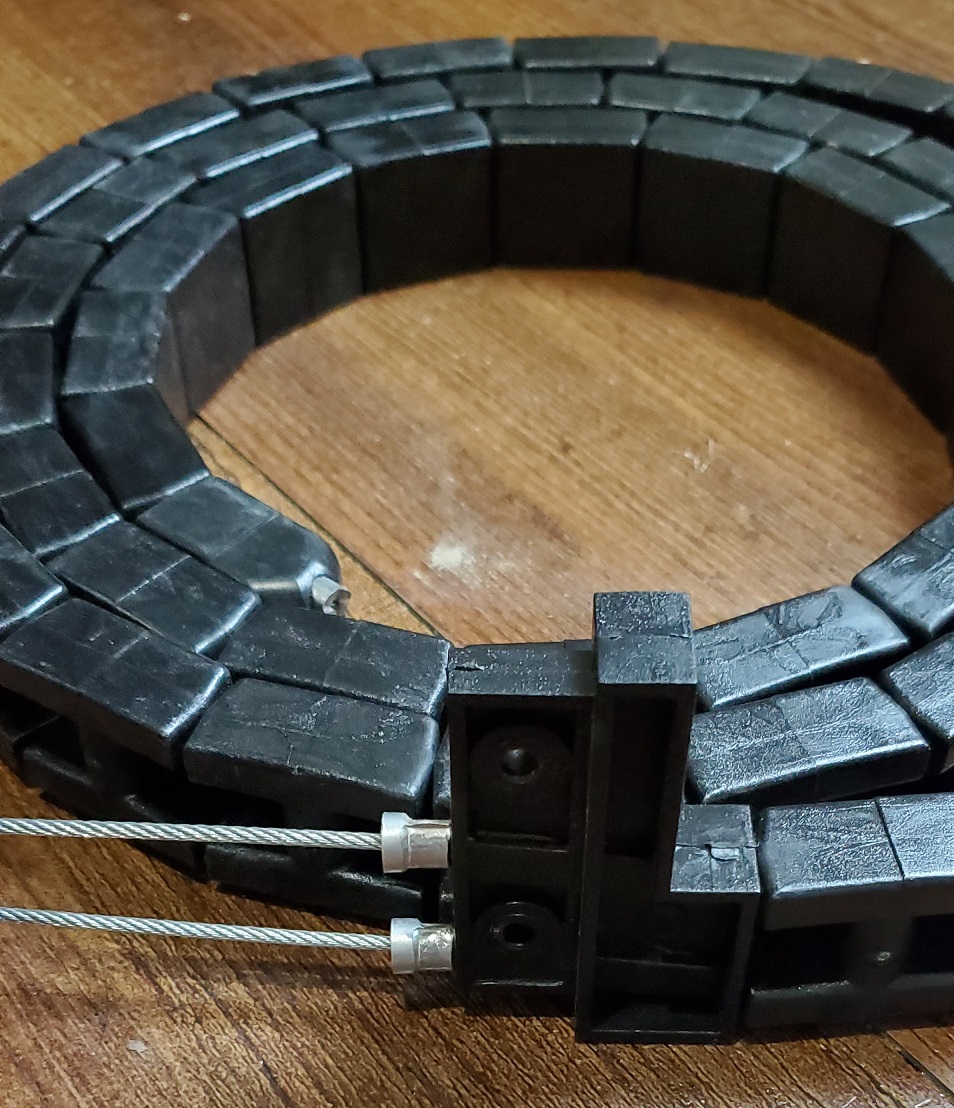
This replacement lifter chain restores smooth, even roof operation on Apache hard-side campers with the chain-drive lift system. The chain is made from interlocking, heavy black polymer blocks designed to run in the corner tracks and be driven by the front and rear gear boxes.
With age, chain blocks can crack, deform, or wear, causing noisy, uneven motion or loss of lift at a corner. Replacing a worn chain returns proper tracking and helps protect gears, cams, and corner components from further damage.
- Direct Replacement: Built to Apache specifications for chain-drive lift systems.
- Durable Construction: Robust black polymer blocks for strength and long service life.
- Smooth Operation: Correct block spacing for consistent engagement with gear-box sprockets.
- System Note: Apache uses four chains — one at each corner — driven by the front and rear gear boxes.
Ordering & Fitment
- Single standard length: This lifter chain is supplied in one standard length — there is no length selection required.
- One chain per corner: Order the quantity you need for the corners you’re servicing (up to four per camper).
- Reuse hardware: Factory stops, pins, retainers, and cams are typically reused. Photograph your original stop locations before removal to match positions during reassembly.
- Gear style note: Apache small gear tooth style changed in the late ’70s. Do not mix old/new small-gear styles on the same camper.
Installation & Timing Tips
- Timing matters: After chain work, confirm front and rear gear boxes are timed so all corners nest evenly when closing.
- Inspect other corners: If one chain is worn, check the remaining chains and both gear boxes for wear or damage.
- Lubrication: Grease small gear/cam areas as specified; do not grease the large chain-engaging teeth.
Related repair guide: Apache Lift System Guide (1971–1987)
Installation: Apache Lifter Chain Replacement
Safety: Raise the road cover and secure the sidewalls before starting.
- Raise the road cover and secure the sidewall in place.
- Drill out the three rivets holding the telescope extrusion to the road cover; attach a wire to one hole with ~6" of free wire sticking up.
- Drop the gear box (try not to disturb its timing).
- Push the inner extrusion down into the middle extrusion until it is below the stops; remove the stops (tape over their buttons so they cannot drop into the track); pull the inner extrusion back up along with the chain until the chain is completely out.
- Attach the new chain to the inner extrusion — with the three-hole side of the extrusion facing you, the chain goes on the right-hand side with the flat tops of the links facing you (only one way is correct).
- Feed the chain into the middle extrusion (a hacksaw blade through the gear box opening helps guide it past the reinforcing plate — remove the blade immediately after).
- Push the inner extrusion below the middle extrusion, reinstall the stops, pull it back up into the road cover bracket.
- Connect the extrusion to the road cover and reinstall the gear box.
Full guide with diagrams, maintenance tips, and troubleshooting: Apache Lift System Guide.
Listed fitments (1)
Check your model, lift system and cable position against these listings and the part details.