
Lift System Parts
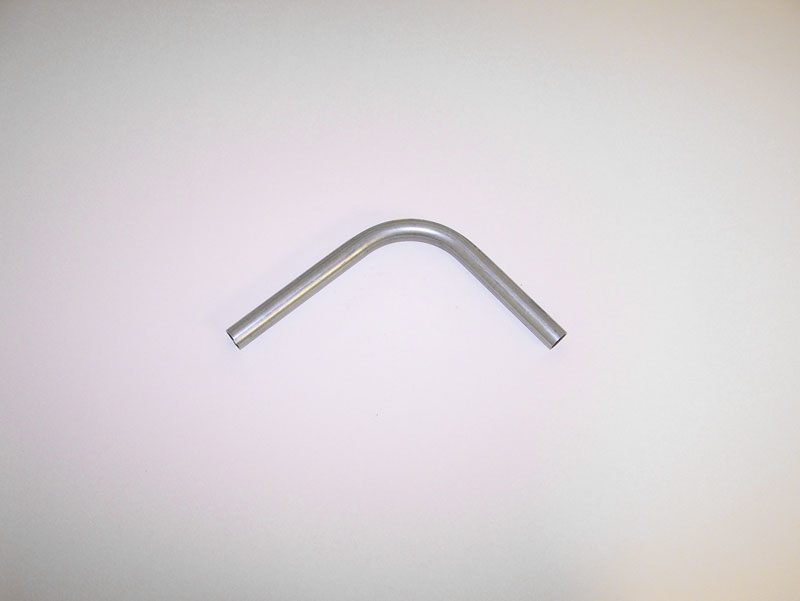
Forest River Spring Tube – Short
SKU: PA-FORESPRINGTUBE-S
$11.55
Part details
Curved Spring Guide Tube for Forest River Lift Systems (Short)
This is a replacement "Short" Spring Guide Tube for the Forest River "bicycle chain" style lift system, commonly found in Rockwood and Flagstaff campers. This specially curved tube is located at the corner of the camper body and serves as a critical track. Its purpose is to guide the flexible pusher spring from the main drive system smoothly around the corner and up into the vertical lift post.
The entire lift system relies on the springs sliding freely through these guide tubes. If a tube is crushed, kinked, or internally blocked with debris, the spring will bind, preventing that corner of the roof from raising. Replacing a damaged guide tube is essential for restoring the smooth, reliable operation of your lift system.
Key Features:
- Enables Lift Operation: Provides a low-friction channel for the pusher spring to slide around the corner.
- Restores Function: Replaces a damaged guide tube to eliminate binding and allow the corner to lift.
- "Short" Version: This is the shorter length tube. Please verify this is the correct size needed for your specific repair.
- Durable Construction: Built to withstand the constant pressure and movement of the internal spring.
- Sold Individually: The price listed is for a single short guide tube.
Installation: Push Rod Spring / Spring Tube Replacement
Safety: Numbers in parentheses refer to the parts legend on the Forest River guide. Support the roof on poles at all four corners before starting.
- Raise the roof; place support poles between roof and ground.
- Remove the canvas flaps around the Roof Bracket (14), the lag bolts (32), and the lower bolt (33) on the front off-door side; crank the system down.
- Remove the sidewall extrusions and plastic “L” extrusions, then the Lifter Post Assemblies (13).
- Crank the system up fully; remove the lift covers, the Idler Sprocket Assembly feet screws (2), the Spring Tube Clamp screws (12), and the Spring Retainer (35).
- Loosen the Adjustment Screws (21) and move the Idler Sprocket Assembly toward the off-door side.
- Door-side spring: disconnect the chains from the Chain Attachment (20), then remove and replace the push rod spring. Off-door spring: also remove the Drive Shaft Rod (34), slide the lifter assembly toward the door side, then disconnect and replace.
- Reverse the steps to reassemble; set chain tension and roof heights per the guide.
Full guide with diagrams, maintenance tips, and troubleshooting: Forest River Chain & Spring Guide.
Listed fitments (1)
Check your model, lift system and cable position against these listings and the part details.