
Lift System Parts
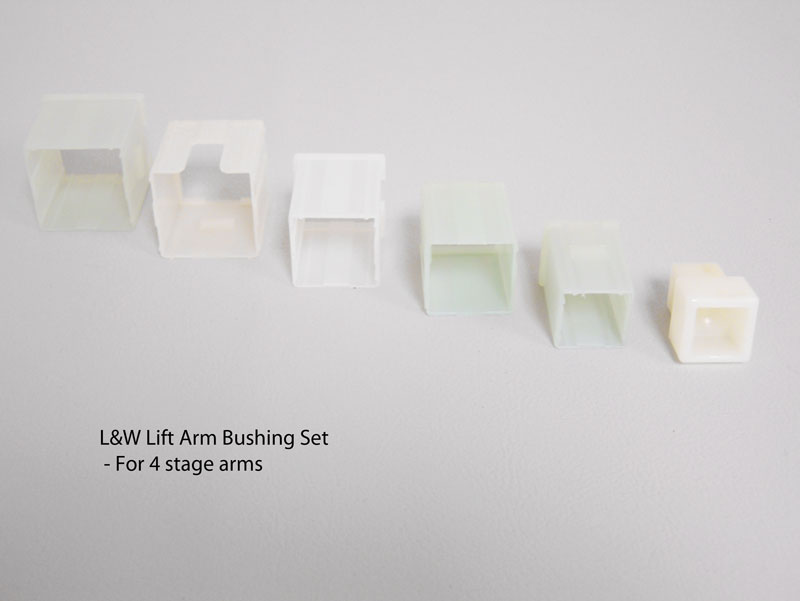
L&W Bushing, Arm Insert Set (3 and 4 Stage)
SKU: PA-VIKI2515075
$28.35
Part details
Telescoping Arm Bushing & Insert Set for L&W Lift Systems
This is a complete set of the plastic bushings and inserts required to rebuild one telescoping corner lift arm on a Jayco, Viking, or Coachmen pop-up camper with an L&W lift system.
These plastic inserts fit between the different metal sections of your telescoping lift arms. They act as low-friction guides, allowing the arms to expand and collapse smoothly and quietly while keeping them stable at the appropriate height. If your lift arms are excessively loose and wobbly, or if they bind and jam when raising or lowering the roof, it is a clear sign that these internal bushings are worn or broken.
Key Features:
- Restores Smooth Arm Movement: Replaces worn inserts to eliminate wobble, slop, and binding in telescoping lift posts.
- Complete Set for One Post: Includes all the plastic inserts needed to rebuild a single corner lift arm.
- Broad Compatibility: This universal set is designed to work for both 3-stage and 4-stage lift arms.
- For L&W Systems: A direct replacement for the original inserts in Jayco, Viking, and Coachmen campers.
Maintenance Tip: These inserts are wear items. If the bushings in one lift arm have failed, the others have experienced the same amount of use and are likely in similar condition. For the most stable roof and best long-term results, we recommend inspecting all four corner posts and ordering enough sets to rebuild any that feel loose.
Installation: Replacing L&W Telescoping Lift Arms / Posts
Safety: Prop the roof with solid supports before servicing. After any repair, raise and lower the roof several times and confirm the door seats properly.
- Raise the roof and securely brace all four corners, bracing between the end-wall cap and the roof “H” rail.
- Remove the tent from the curtain track at the top of the roof side.
- Remove the lift arm cover and the screws from the sidewall cap; lift the cap up. Do not untuck the tent.
- Remove the top arm bolt. CAUTION: only replace one arm at a time.
- Crank the winch all the way down.
- Remove the old arm by lifting it out of the sidewall pocket.
- Install the new arm, ensuring the screw in the bottom of the arm faces the inside of the camper.
- Reverse the previous steps to reassemble, then adjust the final roof height (targets are in the guide).
Full guide with diagrams, maintenance tips, and troubleshooting: L&W Lift System Guide.
Listed fitments (2)
Check your model, lift system and cable position against these listings and the part details.