
Lift System Parts
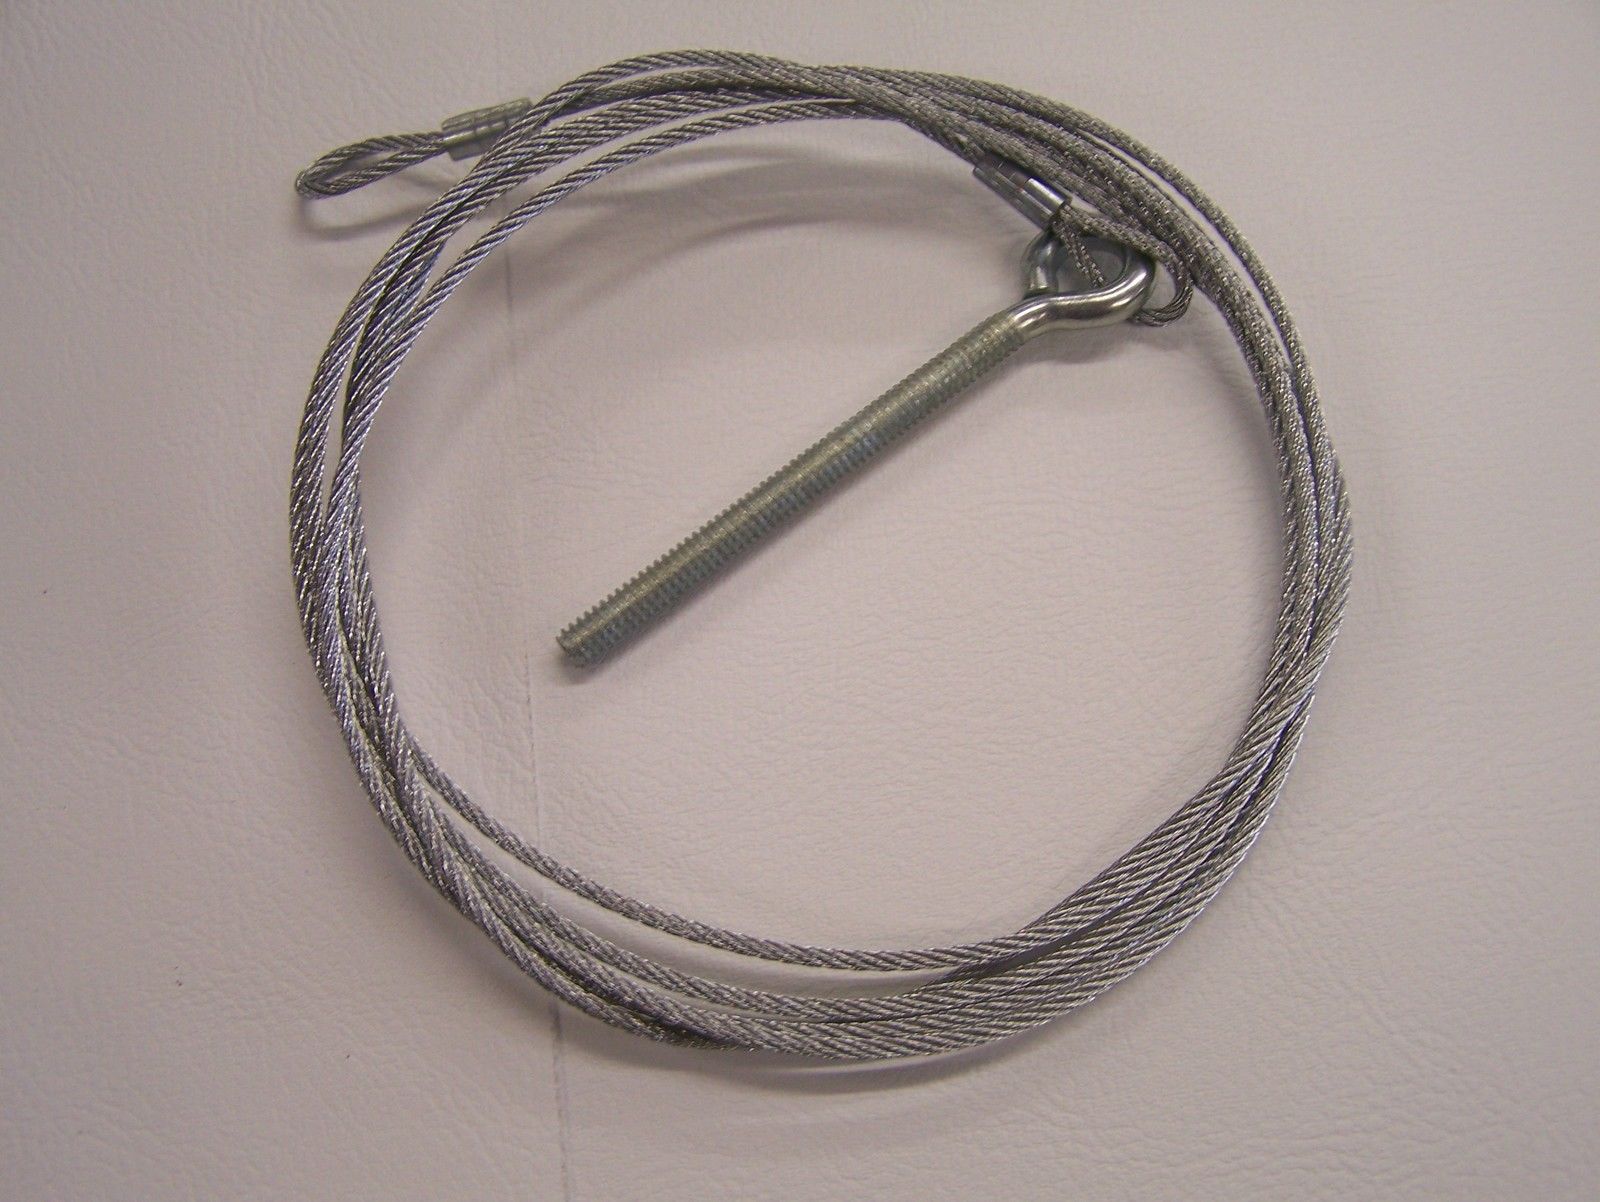
Starcraft Lifter Cable 64 3/8 Overall Length 3/32 Ss 3 1/2″
SKU: PA-STAR3305-5021
$18.90
Part details
Rear Lifter Cable for 1984 Starcraft Starflyer 19 (Part No. 3305-5021)
This is a 64 3/8-inch replacement Rear Lifter Cable for the 1984 Starcraft Starflyer 19 pop-up camper. As detailed in the Starcraft repair manual, this cable connects the main winch system, via a turnbuckle, to the rear corner lifter posts. This part is a direct replacement for the original cable to ensure proper fit and function.
Important Shipping Information
Please allow up to 1 week for this cable to ship.
Product Specifications & Compatibility:
- Part Number: 3305-5021
- Location: Rear Lifter Cable
- Overall Length: 64 3/8 Inches
- Cable Diameter: 3/32 Inch
- End Fitting: 3 1/2-inch Stainless Steel Eyebolt
- Confirmed Model Fit: The parts chart confirms this cable is used on the 1984 Starcraft STARFLYER 19 model.
Installation: Replacing a Lifter Cable (1983–2000 System)
Safety: Prop the roof securely — never rely on the remaining cables to hold it.
- Era check: this procedure is for the 1983–2000 system — a winch with FOUR cables and turnbuckles. If your Starcraft has a tongue-mounted winch with ONE cable to a 4-way yoke, use the 1982-and-older guide instead.
- Raise the roof to within an inch or two of correct height and prop the broken corner (hold it up by hand while cranking to avoid over-stressing the other cables).
- Slide out the bunk end and remove the side canvas far enough to expose the lifter.
- Raise the first stage of the lifter until the anchor bolt is clear of the sidewall (StarLite models: break the seal at the top of the lifter pocket; some models have cover plates; you may need to remove 4–5 bed-track screws for pulley clearance).
- Remove the bolt holding the pulley at the top of the first stage (3-stage lifters: the looped cable end can thread through the pulley assembly instead). Tip: tape over the back of the wrench so the nut cannot drop into the lifter pocket.
- Remove the anchor bolt holding the looped end of the cable to the first stage, then pull the old cable out through the bottom of the lifter pocket.
- Thread the looped end of the new cable through the frame pulleys and up into the lifter pocket. Do not twist the new cable.
- Wrap the cable around the pulley and insert the pulley into its bracket at the top of the first stage.
- Torque the pulley nut/bolt and the cable anchor bolt to 6 ft/lbs; connect the lifter cable to the turnbuckle.
- Adjust the roof height following the Winch section of the guide.
Full guide with diagrams, maintenance tips, and troubleshooting: Starcraft 1985–2000 Guide.
Repair Guides: Step-by-step procedures, cable charts, and troubleshooting are in our Starcraft guides: 1982 & Older (tongue winch with 4-way yoke) or 1985–2000 & most '83–'84 (winch with four cables).
Listed fitments (3)
Check your model, lift system and cable position against these listings and the part details.