
Lift System Parts
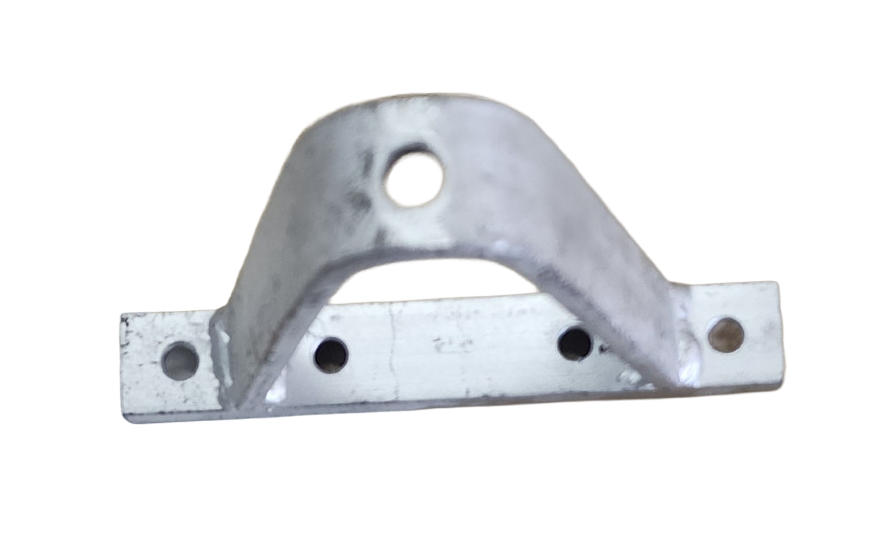
Starcraft Yoke – For Main Cable
SKU: PA-STAR0205-5002
$26.25
Part details
Starcraft Yoke for Main Cable (1-to-4 Cable Junction)
The Starcraft Cable Yoke is a vital junction component for Starcraft pop-up camper lift systems (primarily models 1999 and older). This heavy-duty distribution plate acts as the central connection point that bridges your single main winch cable to the four individual lifter cables that go to each corner of the camper.
When you crank your winch, the main cable pulls this yoke, which in turn pulls all four corner cables simultaneously. Because this part handles the combined tension of the entire roof, it is subjected to significant stress. A bent, rusted, or cracked yoke can lead to uneven lifting, cable binding, or a complete lift system failure. Replacing a compromised yoke is essential for maintaining the structural integrity and synchronized operation of your roof.
Product Features & Specifications
- Function: Serves as the 1-to-4 cable distribution point (Whiffletree style).
- Design: Features one primary hole for the main winch cable and four secondary holes for the corner lifter cables.
- Compatibility: Designed specifically for Starcraft lift systems utilizing the 1-winch-to-4-cable configuration.
- Construction: Heavy-duty, high-strength steel to resist bending under the weight of the roof.
- Model Number: PA-STAR0205-5002
Installation Tip: While replacing the yoke, it is highly recommended to inspect all five cables for fraying or "meat hooks." This is also the best time to clean and lubricate the distribution area to ensure the cables slide freely and the yoke travels smoothly without tilting, which ensures a level lift.
Installation: Main Cable & Yoke (1982 & Older Tongue-Winch System)
Safety: Place jack stands under the front corners of the main frame before working underneath.
- Era check: this procedure is for the older system — a tongue-mounted winch with ONE main cable running to a 4-way yoke/spreader. If your winch has FOUR cables with turnbuckles, use the 1985–2000 guide instead.
- With the hard top down, raise the unit front for access to the cable under the frame (jack stands under the main frame).
- Insert the crank in the winch, turn clockwise just enough to free the ratchet, then release tension by turning counterclockwise.
- Loosen the cable clamp at the winch and remove the old cable; pull it out of the locking-bar loop and frame hole.
- Remove the two hex nuts securing the main cable eyebolt to the yoke.
- Thread the new cable through the frame hole and locking-bar loop up to the winch; insert the eyebolt into the yoke and secure with two hex nuts.
- Thread the taped end under the winch drum, into the clamp, and tighten.
- Check the upper door fit and mark the cable and winch body with yellow paint at proper height (full procedure in the guide).
Full guide with diagrams, maintenance tips, and troubleshooting: Starcraft 1982 & Older Guide.
Listed fitments (1)
Check your model, lift system and cable position against these listings and the part details.