
Lift System Parts
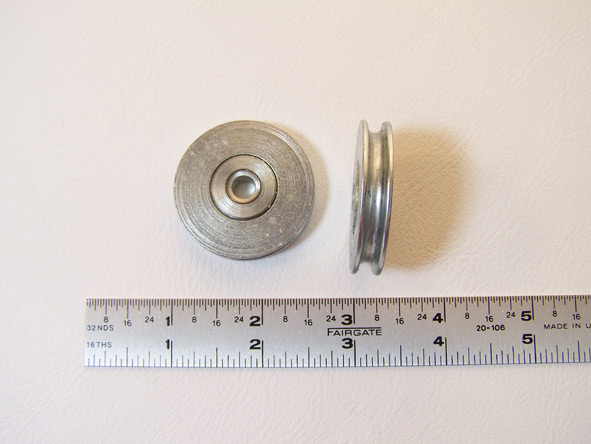
Viking/Coachmen Pulley – Steel Bearing 1 1/4″
SKU: PA-VIKI2515064
$26.25
Part details
1 1/4" Steel Bearing Pulley for L&W Lift Systems
This is a high-quality, replacement 1 1/4-inch steel pulley with an integrated bearing for pop-up campers using the L&W Lift System. These pulleys are essential for the smooth operation of the lift cables and are used in various locations throughout the system, including on floor tracks and in corner brackets. This pulley is a common component on many brands, including Viking and Jayco campers.
The integrated bearing ensures the pulley spins freely, which reduces friction, makes cranking easier, and increases the lifespan of your lift cables by preventing fraying. A seized or worn-out pulley is a primary cause of cable failure and should be replaced to ensure the reliability of your lift system.
Product Details:
- Type: Single Steel Pulley with Integrated Bearing
- Diameter: 1 1/4 Inch
- Function: Guides the lift cables throughout the L&W lift system.
- Compatibility: For pop-up campers using the L&W Lift System, commonly found in Viking, Coachmen, and Jayco models.
- Sold Individually.
Installation: Replacing an L&W Pulley / Pulley Bracket
Safety: Prop the roof with solid supports before servicing. After any repair, raise and lower the roof several times and confirm the door seats properly.
- Raise the roof and brace it securely.
- Crank the winch down 4–5 turns.
- Remove the bolts from the pulley track (pulley brackets are on the sidewall and floor in the opposite corner from the winch).
- Break the pin weld on the bracket and pry it apart: drill through the bracket from the backside to remove the weld area, or split the two metal pieces with a chisel.
- Remove the cables from the pulley, noting whether they ride on the top or bottom side of the pulley.
- Break the pin weld on the new bracket (drill from the backside) and place the cables back in the same position.
- The new bracket does not need to be welded; a bolt will hold it once it is back in place.
- Reverse the previous steps. Make sure the cables do not rub on the wheel well, then adjust the final roof height.
Full guide with diagrams, maintenance tips, and troubleshooting: L&W Lift System Guide.
Listed fitments (1)
Check your model, lift system and cable position against these listings and the part details.