
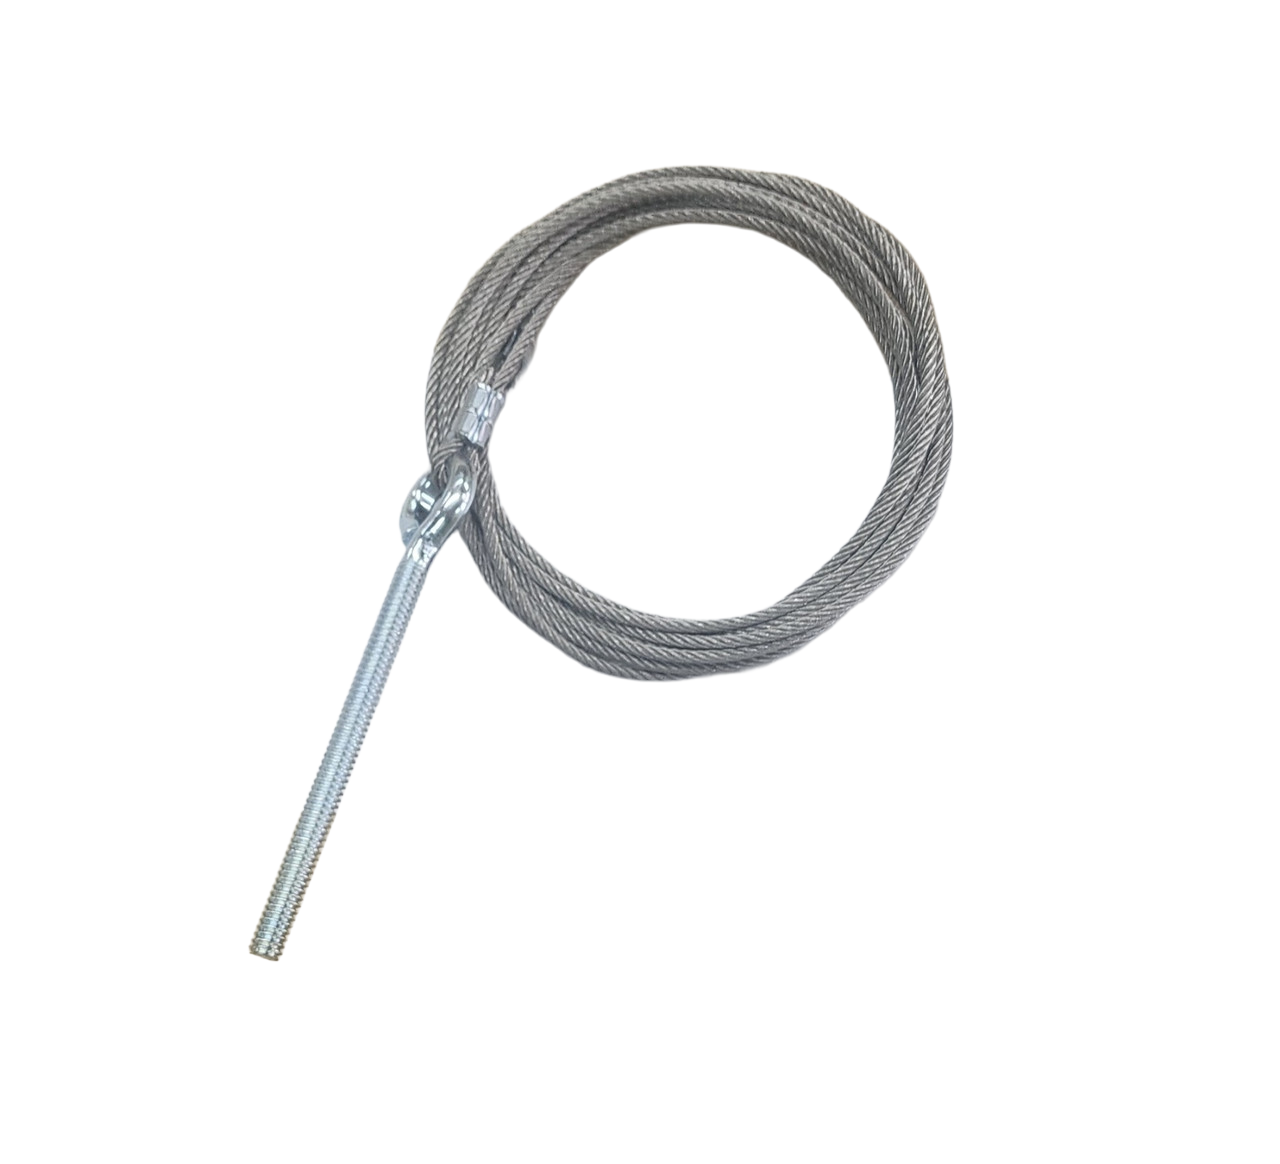
Lift System Parts
Jayco Lift Cable (Need Location)
SKU: PA-JAYCLIFT1
$21.00
Part details
Custom-Made Single Lift Cable for Jayco Campers
This is a single, custom-made replacement lift cable for your Jayco pop-up camper's L&W lift system. This product is for replacing one specific corner cable. These cables are manufactured to the precise specifications of your trailer to ensure a perfect fit and proper operation. This is a special-order item; please read the ordering instructions carefully.
Important Lead Time & Policy
- Custom-Made Item: As this cable is made to your specific camper's dimensions and for a specific corner, it is non-returnable and non-refundable. Please ensure your information is accurate.
- Manufacturing Lead Time: Please allow up to 1 week for your custom cable set to be manufactured before it ships.
HOW TO ORDER: Required Information
To ensure your new cable is the correct length for the correct corner, you must provide the following information using the required fields on this page:
- Cable Location: You must select the specific corner you are replacing (e.g., Driver's Side Front, Passenger Side Rear).
- Year of your Jayco camper
- Make (Jayco)
- Model of your camper
IMPORTANT: You must provide the specific model name or number (e.g., "12SO", "Jay Flight"). "Eagle" is a series, not a model, and is not specific enough for ordering. Missing or incorrect model information will delay your order.
Product Details:
This product contains one (1) corner lift cable (3/32" diameter ). It is cut and finished to the exact length required for the specific camper model and corner location you provide.
Maintenance Tip: Cables on a lift system tend to wear at a similar rate. If one cable has failed due to age or corrosion, we highly recommend you inspect the other three carefully. For a complete overhaul, we also offer a Complete Set of 4 Cables.
Installation: Replacing a 3/32" Corner Lift Cable
Safety: Prop the roof with solid supports before servicing. After any repair, raise and lower the roof several times and confirm the door seats properly.
- Raise the roof and brace it securely.
- Create slack and remove the corresponding eyebolt nut from the harness square.
- Remove interior panels or covers needed to access the cable route.
- Remove the lift arm and the pusher spring (procedures in the guide).
- Carefully pull the old cable through all pulleys, noting its exact route for reinstallation.
- Remove the drive slug from the end of the old cable.
- Feed the new cable back through the pulleys, starting from the winch area.
- Re-attach the drive slug: the wide slot goes in the corner with the track pulley; if the track has no pulley, turn the wide slot toward the lower front corner of the spring track.
- Reassemble the spring, arm, and covers, then adjust the final roof height.
Full guide with diagrams, maintenance tips, and troubleshooting: L&W Lift System Guide.
Listed fitments (1)
Check your model, lift system and cable position against these listings and the part details.