2-stage
1 moving section
+ 1 base = 2 stages
PopupCamperGuy parts
Select a part category or model series below.
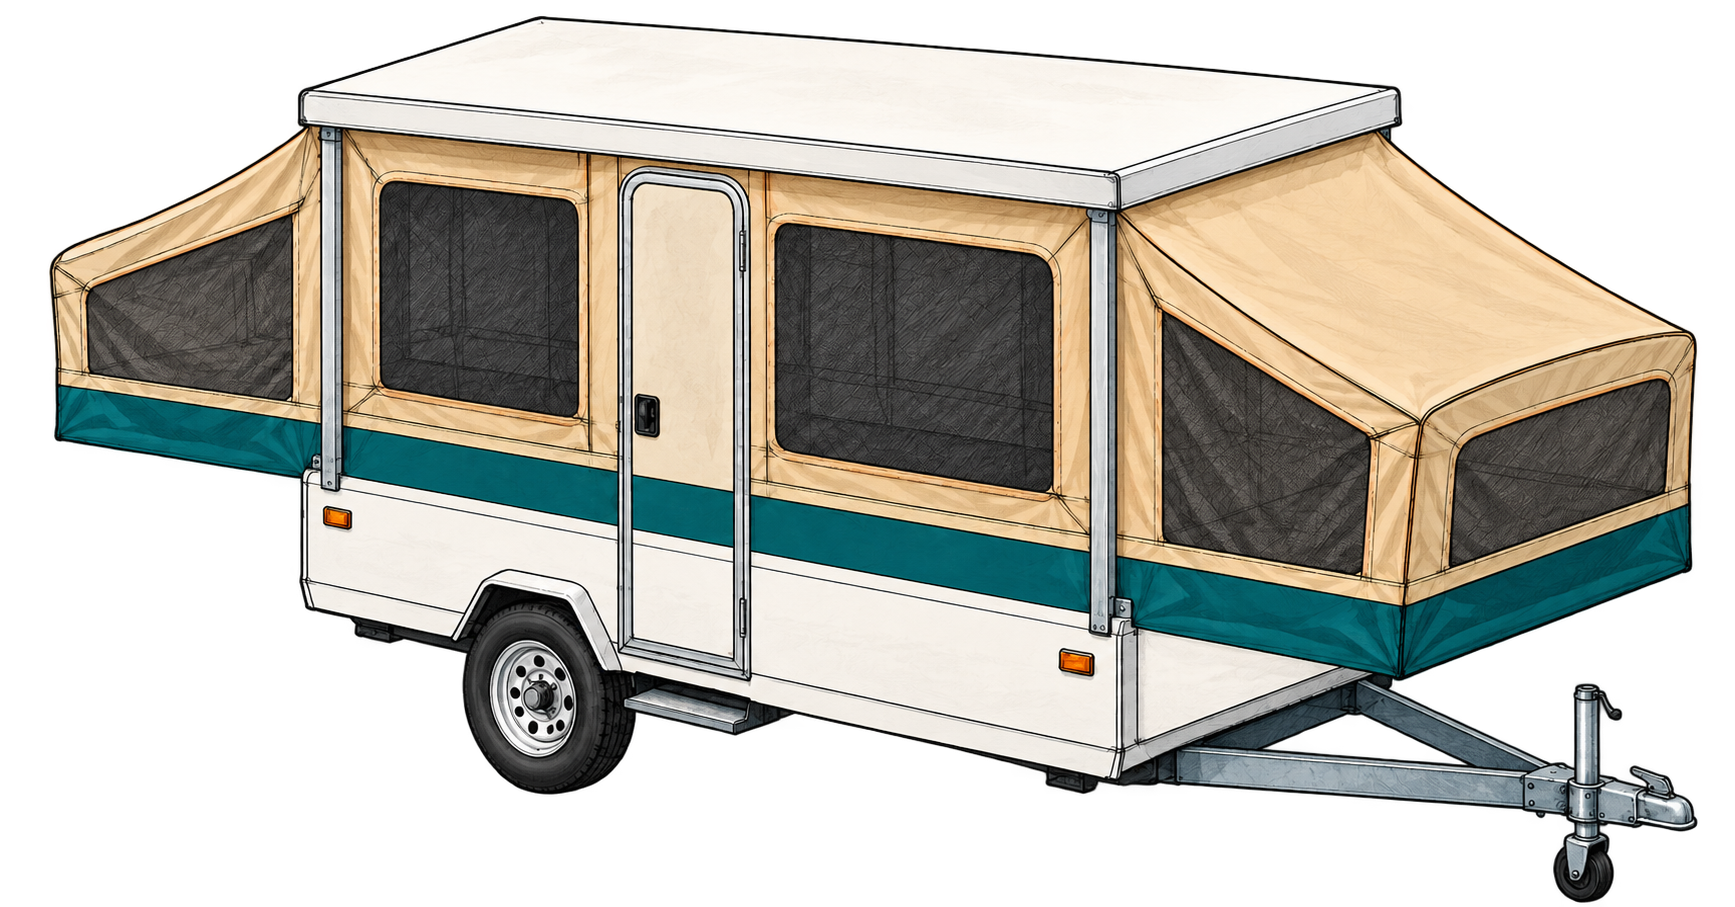
The post sits in the camper's corner wall pocket. The floor track and curved guide carry the push spring up inside it to lift the roof.
Nested metal sections extend from the wall pocket to the roof attachment.
The lower section is concealed below the sidewall cap, inside the camper body.
Turns the flexible push spring upward from the floor into the post.
An elongated, slotted metal driver inside the straight floor track. The cable pulls it against the push spring.
The long coil runs along the track and up the post. The thin orange line marks the lift cable.
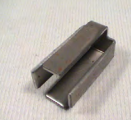
ACTUAL REPLACEMENT PART
This is the supplier photograph of the 7/8-inch Jayco slug, part 0087212. The 3/4-inch version is a separate part, 0012372. Match the original part and track size.
View the 7/8-inch drive slug →Count every telescoping section, including the outer base.
1 moving section
+ 1 base = 2 stages
2 moving sections
+ 1 base = 3 stages
3 moving sections
+ 1 base = 4 stages
Stage count identifies the type. Post length, mounting points, and camper details must also match. Do not raise a damaged lift system just to count sections.
References: L&W service instructions and 7/8-inch slug record. 2-stage reference: A-44 / 0012390.
A model name alone does not establish track size or post fit. Compare these details with the original part.
| Part | Visual cue | Match before ordering |
|---|---|---|
| Drive slug | Elongated slotted driver inside the spring track | Listed Jayco sizes: 3/4" or 7/8". Match the existing slug and track; these labels are not the slug's length. |
| Push spring / push rod | Long flexible coil feeding into the post | Overall length and end/rivet details. Do not substitute a winch pawl spring. |
| Lift post | Nested telescoping metal sections | Total stage count, closed length, mounting points, and part number. |
| Track & curved bracket | Horizontal channel and corner guide | Track size, length, handedness, pulley count, and mounting-hole positions. |
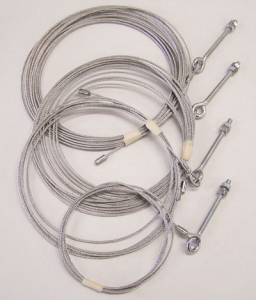
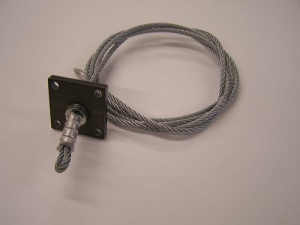
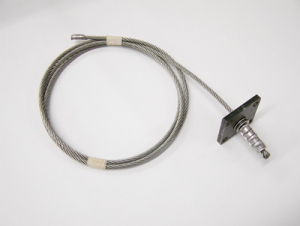
| Lift cable & harness | Main cable, square harness, and four corner cables | Cable location, length, diameter, and end fittings. Keep main and corner cables distinct. |
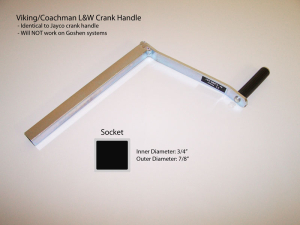
| Winch & drive hub | Crank-driven cable drum and drive hardware | Winch model, front/rear arrangement, shaft, and attachment details. |
11 parts